

Blogs

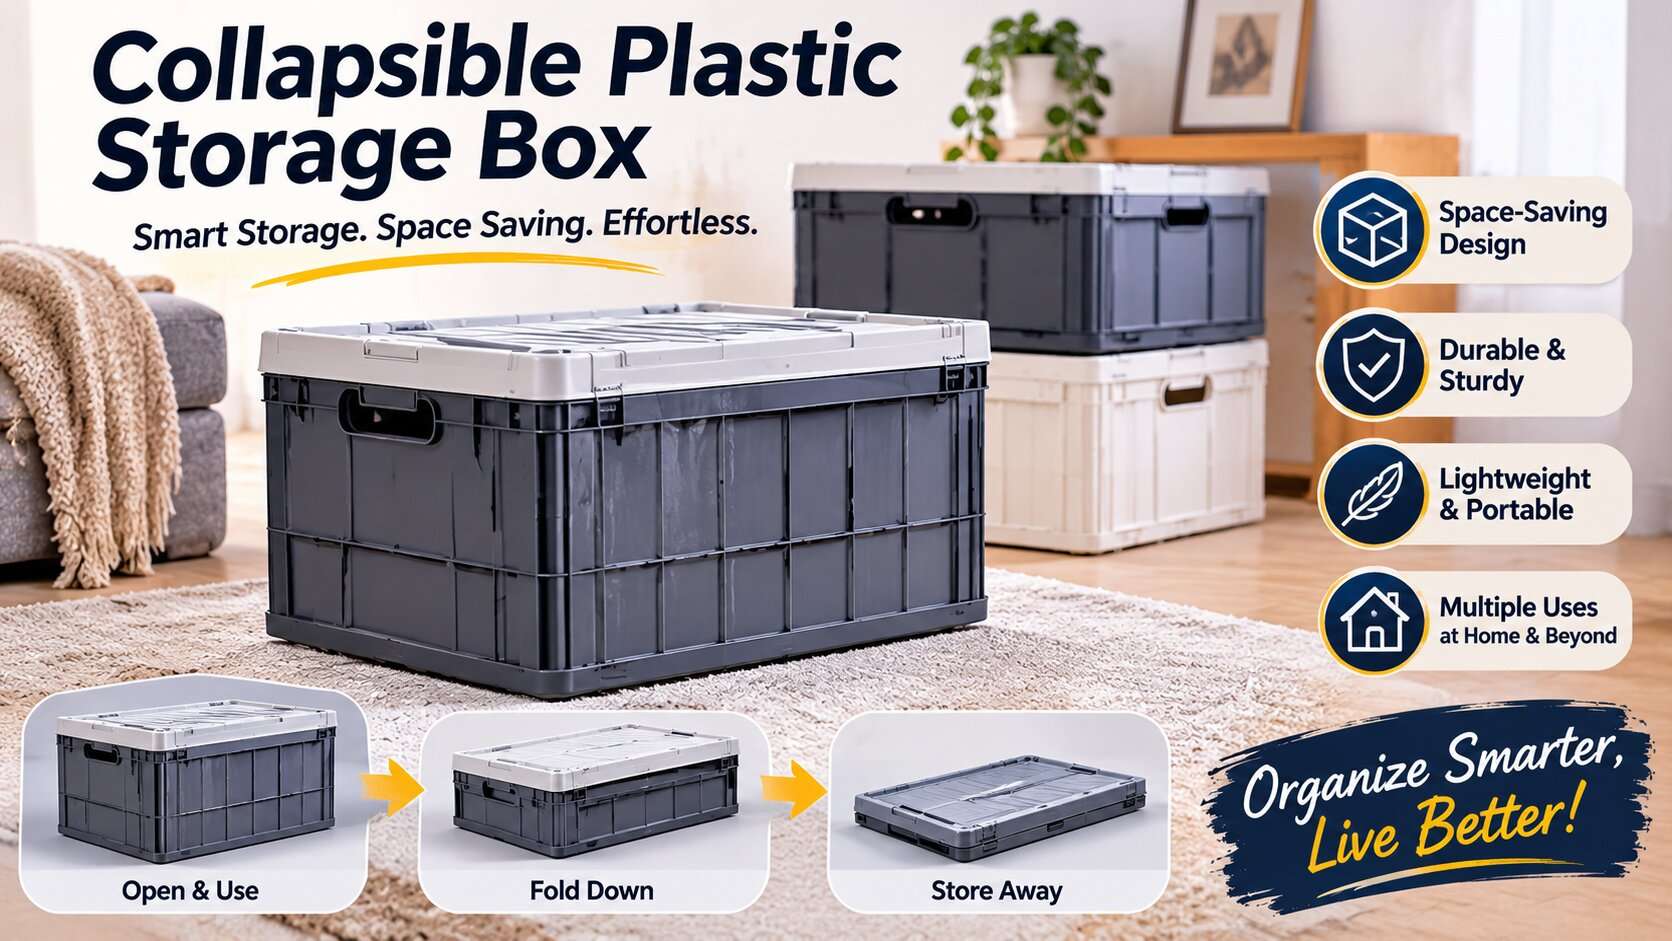
Collapsible Plastic Storage Box

No. Most collapsible plastic storage boxes need no tools. You unfold the walls, press the locking tabs or buckles until they click, and the box is ready. A few designs add steps, though: wheels, metal support rods, or a fabric-and-panel build that calls for a screwdriver.

This guide explains which designs fall where, how the folding and locking mechanisms work, how to assemble and fold them correctly, and what goes wrong most often. It is written for home users as well as warehouse, retail and logistics buyers.

Which designs need tools? A quick guide by type

“Tool-free” describes how a box locks, not how many steps it has. Use this table to see what to expect.

Design Tools needed? Extra steps to expect
Pop-up bin with a lid (four hinged walls, snap tabs or buckles) No Press tabs or buckles until they lock; fit the lid
Front-door stackable bin or cabinet No Latch the door, add the lid, and clip the stack together with side buckles
Bin or cabinet with wheels and rods Usually no Secure metal support rods and attach the wheels
Fabric or wicker foldable bin with a bottom panel Possibly One maker’s manual tells you to tighten stoppers with a screwdriver
Industrial pallet box or sleeve pack No Follow the panel order, then lock the rim latches

The lesson: read the product listing’s assembly line, not just its headline. A listing for a wheeled cabinet that says “no tools required” may still list rods and wheels to attach. That counts as assembly, even when your hands are enough.

How the folding and locking mechanisms work

Every collapsible box solves the same problem: walls must fold flat for storage, then stand rigid under load. Four mechanisms do this.

  • Hinged walls with locking tabs. The long walls rise first, and tabs on them engage slots on the short walls. A click or a firm feel tells you they are locked. This is the most common design in pop-up bins.
  • Buckle latches. Some bins use buckles on all four sides. You unfold the walls, then press each buckle into its slot to stabilise the box.
  • Interlocking frames. Cabinet-style boxes use grooved frames that interlock when stacked. Side buckles hold each level in place to prevent tipping.
  • Rim locks and hinges (industrial). Pallet boxes use hinged side walls with locks at the top rim. The base stays flat, and the walls rise and lock.

The weak point is almost always the lock itself. A wall that is not fully upright, or a tab that has not reached its slot, makes the whole box feel loose.

How to assemble one: the steps that matter

The sequence varies by model, so follow the maker’s order where one exists. These steps hold for most pop-up bins.

  1. Place the box on a flat surface. Uneven ground makes the base sit unevenly and the walls twist.
  2. Unfold the main body. Pull it open so the base lies flat.
  3. Raise the walls in the maker’s order. On many bins you lift the long sides first, then lift the short sides.
  4. Engage every lock. Press tabs into slots or buckles into place on all four sides. Listen for a click.
  5. Check each wall and corner. Press on the top corners and look for gaps. A visible gap means a wall or tab is not seated.
  6. Fit the lid, wheels or rods last. Add accessories only after the box is fully rigid.

One reviewer of a 26 qt bin noted it came without instructions and the end lock handles were slightly hard to snap in. That is common: new locks are often stiff, and a firm press at the lock point usually solves it.

Common mistakes and how to fix them

Mistake What you notice Fix
A wall is not fully raised The box won’t stay open or sags Pull all four walls to their full height before locking
A tab misses its slot The wall pops loose when loaded Press the tab firmly into its slot until it clicks
Forcing panels together Cracked tabs, stress marks at corners Re-seat the panels gently instead of pushing harder
Debris under an industrial base The base won’t sit flush and panel gaps show Clear forklift slots and check that hinges move freely
Assuming the lid locks The lid slips when you carry the box Check whether the lid is friction-fit or latched
Overfilling for stacking Stacked boxes lean or bulge Keep contents below the top edge if you plan to stack

The lid point deserves attention. One review of a wheeled bin noted that the lid sits on by friction, while the doors have locks. If you carry loaded boxes, choose a model with latched lids.

How long does assembly take?

Listings claim anything from 10 seconds to about 5 minutes, and the difference is mostly what is being assembled.

  • A single pop-up bin: claims range from about 10 seconds to a minute.
  • A multi-tier cabinet with wheels: one listing says about 5 minutes.
  • An industrial pallet box: one manufacturer says one operator can finish it in about 60 seconds.

If you are comparing products, check how many bins and accessories each claim covers. “10 seconds” describes one pop-up bin, not a stack of cabinets with wheels.

Safety considerations

  • Keep fingers clear of hinge and lock edges when panels snap into place. Press the panel at its top corners rather than gripping the seam.
  • Don’t treat the weight rating as a lifting limit. Listings often state 100–110 lb per bin. That is the load rating of the box, so fill it according to what you can carry safely.
  • Check stability before you stack. Put the sturdiest, least-loaded bin at the bottom and fasten side buckles where the design has them.
  • Inspect locks before each heavy load. A cracked tab or loose latch can fail under weight.
  • For pallet boxes, follow the maker’s handling rules. Manufacturers warn about correct fork tine entry and proper material handling to avoid operator injury.

How to fold and store a collapsible box

Folding reverses assembly, and no tools are needed.

  1. Empty the box and remove the lid and any accessories.
  2. Wipe it clean and dry so dirt doesn’t sit in the hinges.
  3. Release the locks on all sides.
  4. Fold the walls down in the reverse of the order you raised them.
  5. Stack the flat boxes or slide them under a bed or shelf.

Flat storage saves real space. One 75-gallon deck box lists an assembled height of 19.7 inches and a storage height of 4.7 inches, roughly a 4-to-1 reduction. One industrial supplier states a 1:4 folding ratio for its sleeve packs, meaning four collapsed units take the space of one assembled box.

What buyers and warehouse teams should check

Assembly design affects returns, labour and customer reviews. Before you order, check these points on a sample unit.

  • Lock quality. Do tabs and buckles click clearly, and do they stay locked after repeated folding?
  • Lid retention. Is the lid latched or friction-fit?
  • Accessory steps. Do wheels, rods or screws change the “tool-free” claim?
  • Instructions. Some bins ship without any. Ask the supplier for a one-page assembly sheet in the box, or add one yourself.
  • Folded size. Compare the flat height with the assembled height to see what you save in shipping and storage.
  • Hardware on arrival. Customer complaints about loose latches and missing parts show why checking a sample matters.

Frequently asked questions

Do I need any tools to assemble a collapsible plastic storage box?

Usually not. Most pop-up bins lock by hand. Check models with wheels, metal rods or fabric bodies, because some add parts or call for a screwdriver.

Why won’t my collapsible storage box stay open?

One or more walls are probably not fully raised, or a locking tab has missed its slot. Pull each wall to full height and press the tabs until they click.

Can I fold a collapsible box while it’s full?

No. Empty it first, then release the locks and fold the walls down.

Can I stack collapsible bins?

Many are designed for it, but keep contents below the top edge, place the sturdiest bin at the bottom and follow the maker’s stacking guidance.

How long does assembly take?

A single pop-up bin takes seconds to about a minute by manufacturer claims. A multi-tier cabinet with wheels takes longer.

Final thought

Collapsible plastic storage boxes are among the easiest products to set up, but “tool-free” is a feature to verify, not assume. Check the design type, read the accessory steps, and test the locks and lid before you commit to a large order.

Leave Your Comments